
Pay-per-article tool
Last reviewed: Sep 22, 2026
Use the Pay per Article tool to allow your visitors to make a one-time payment to unlock a single article or page on your site.
The content remains accessible to paying visitors even if they leave the page or close their browser. However, they may be asked to enter their wallet address so that the tool can confirm access rights.
Before you begin
Section titled “Before you begin”- Your visitor must have a wallet address with a compatible wallet to make a payment.
- Only the address connected to the paywall will receive the payment, even if your site is monetized with multiple wallet addresses.
- If your website uses Content Security Policy (CSP) headers, there are certain directives you must add to support the publisher tools embed script.
Create your paywall
Section titled “Create your paywall”- Enter your wallet address.
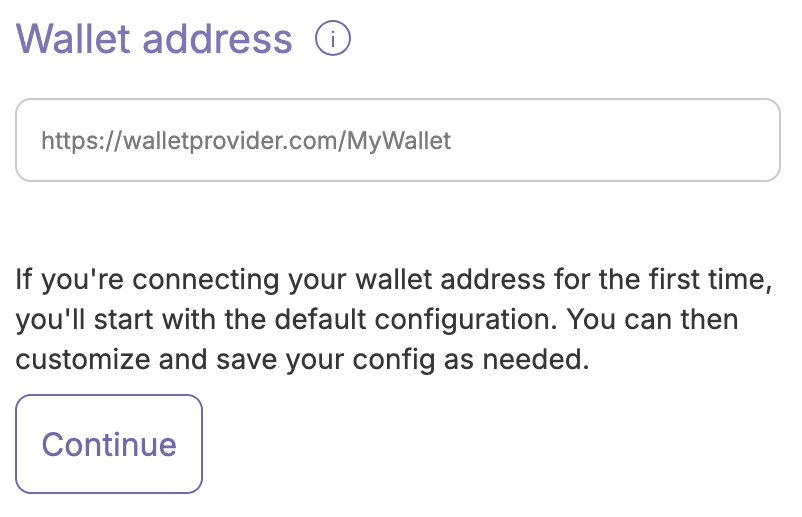
- Click Continue.
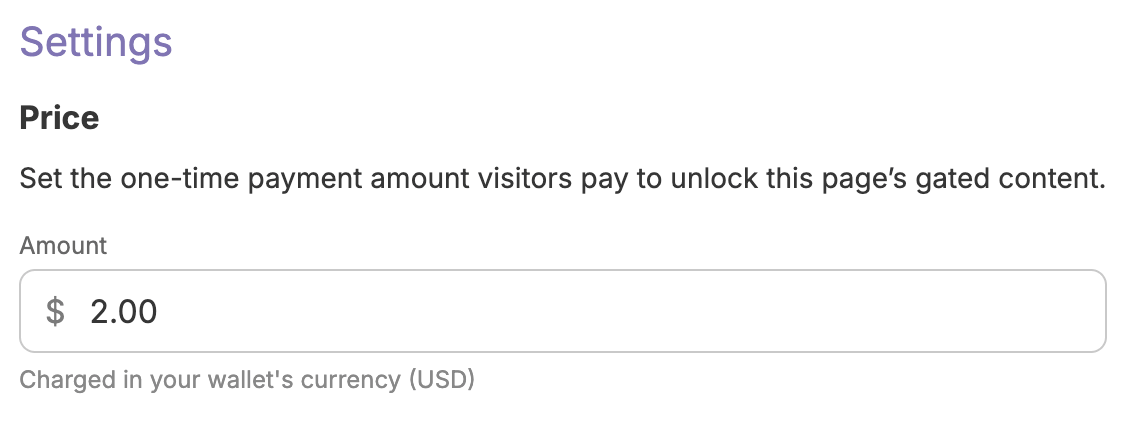
- Set the one-time payment price of your content. This price will be shown on all pages using the paywall.
- Select how much of a page should remain visible when the paywall appears.
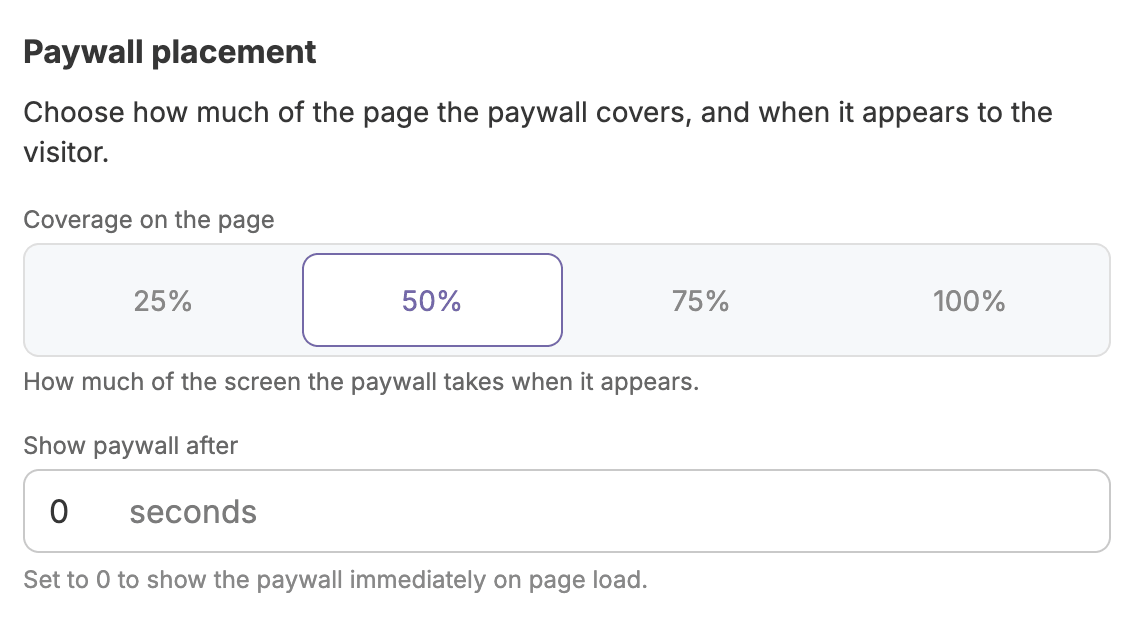
- Enter the number of seconds, from
0to15, to wait before showing the paywall. - Expand the Content section, then enter a title for the paywall or choose from the suggested options.
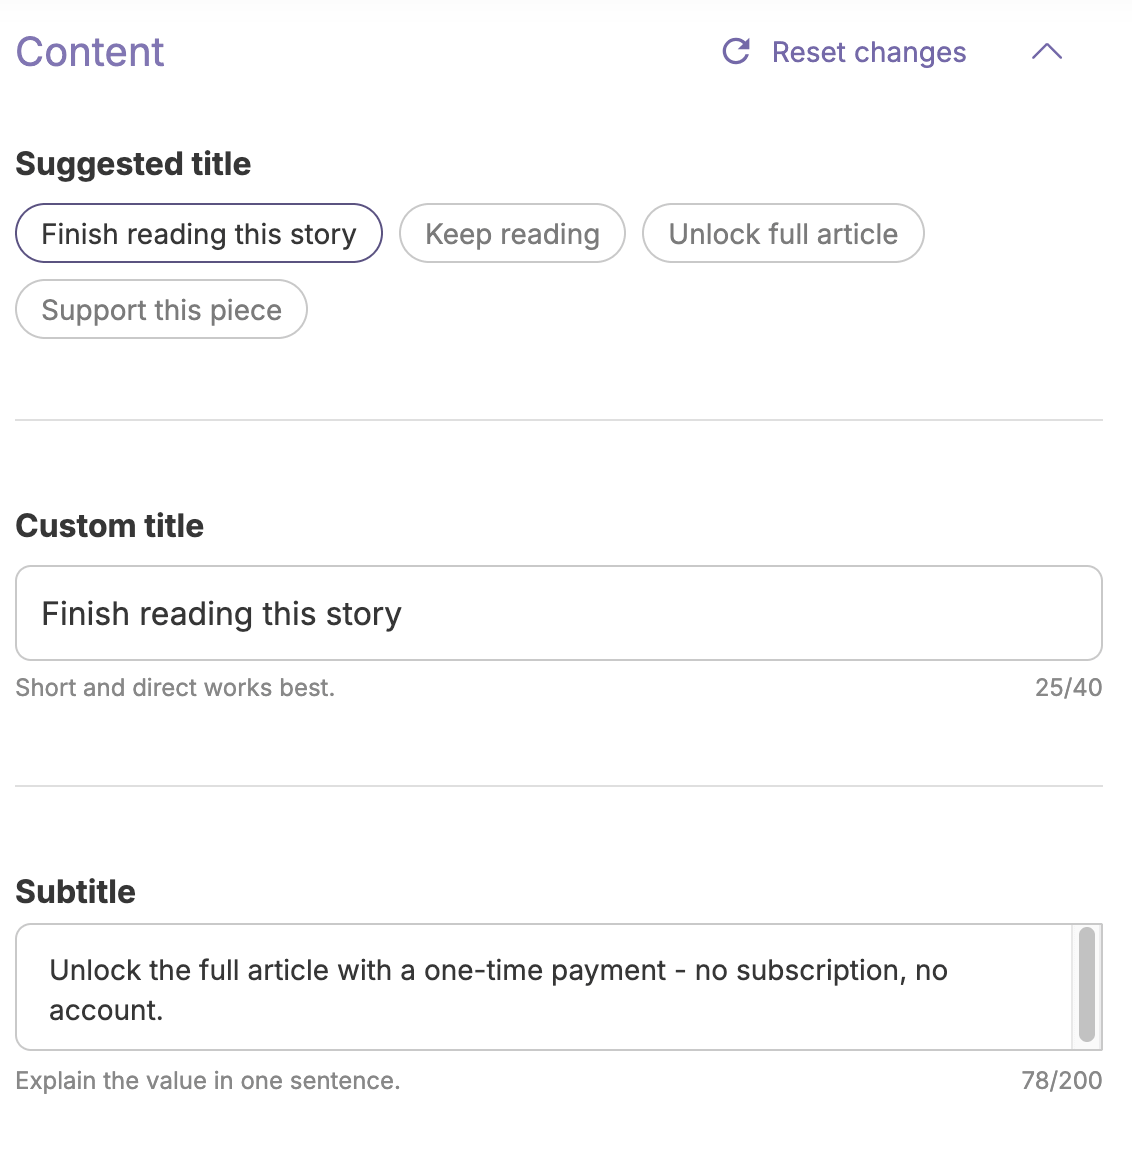
- Enter a subtitle, use the default, or delete the text entirely if you don’t want a subtitle to appear.
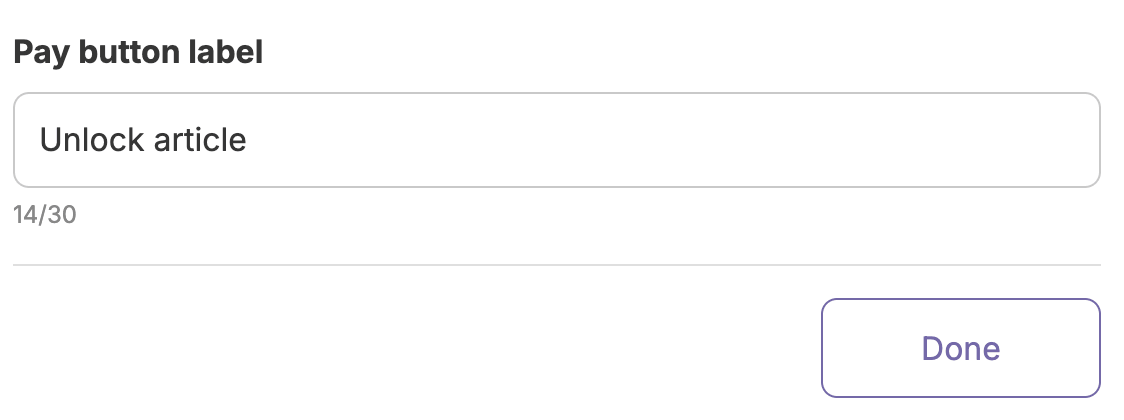
- Enter the text to display on the payment button, then click Done.
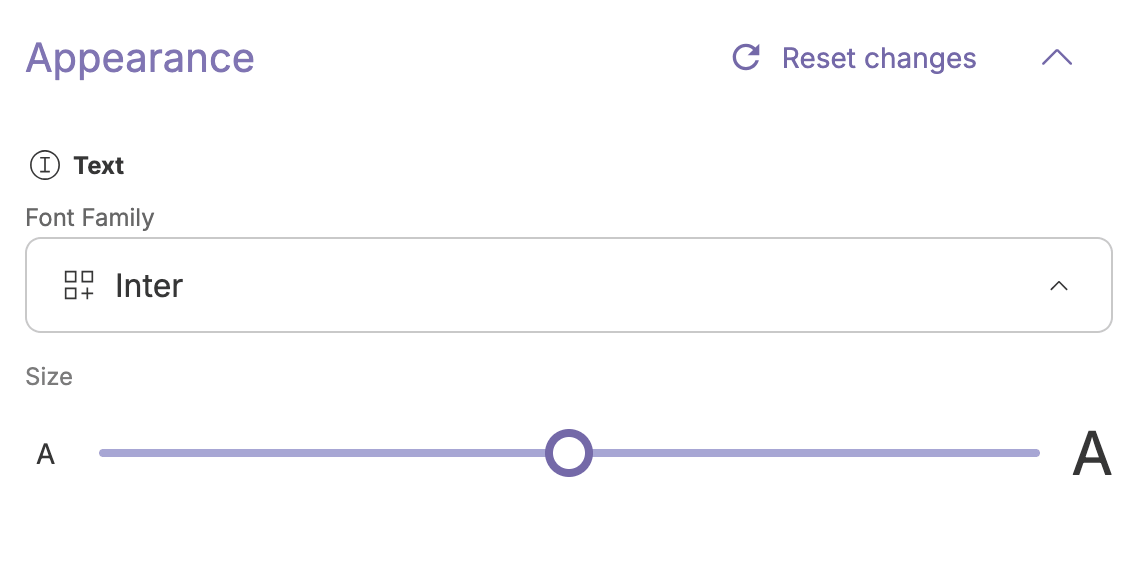
- Expand the Appearance section, then select the font and font size to use on the paywall.
- Select the colors to use for the background, text, and theme.
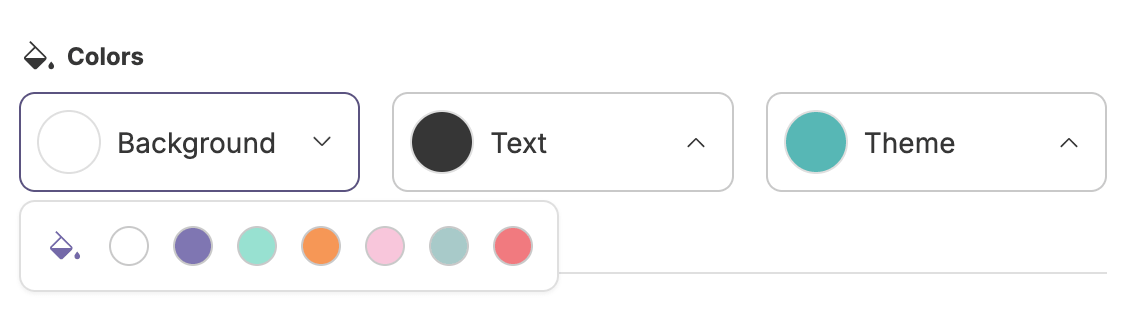 Click the paint can icon to enter a hex value or use the color picker.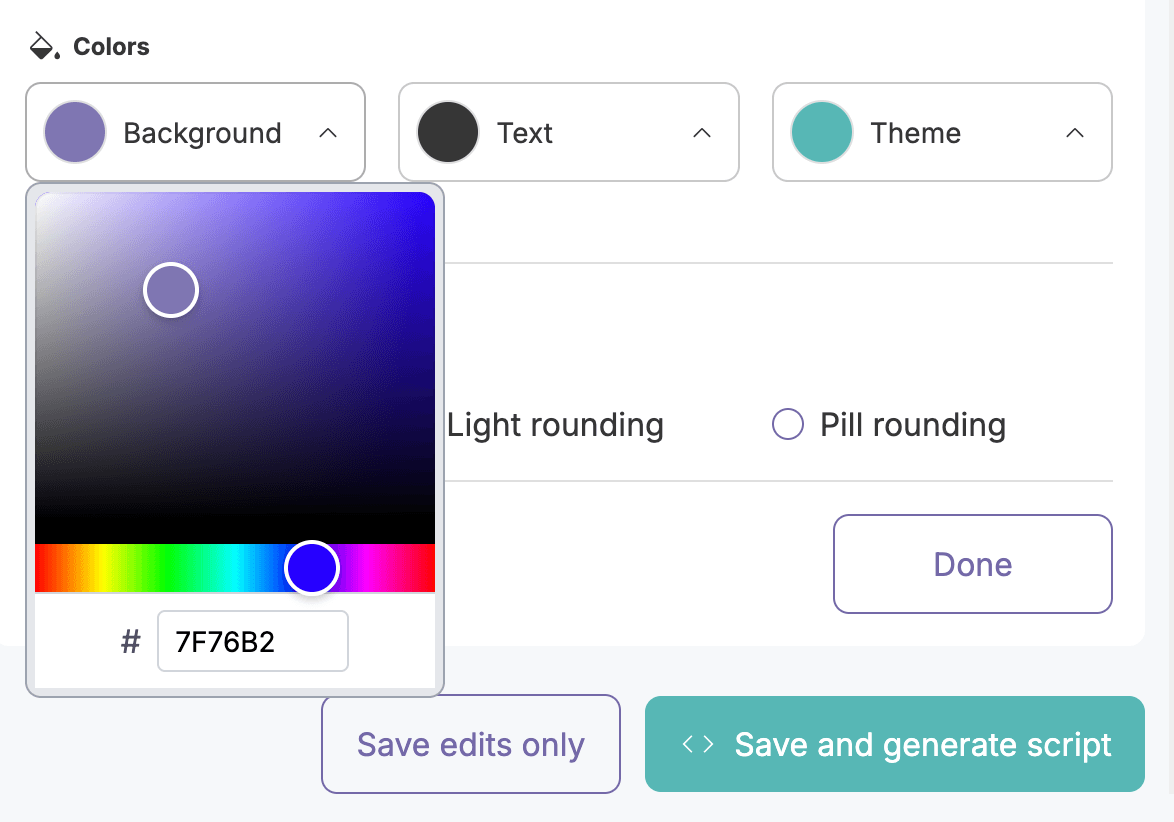
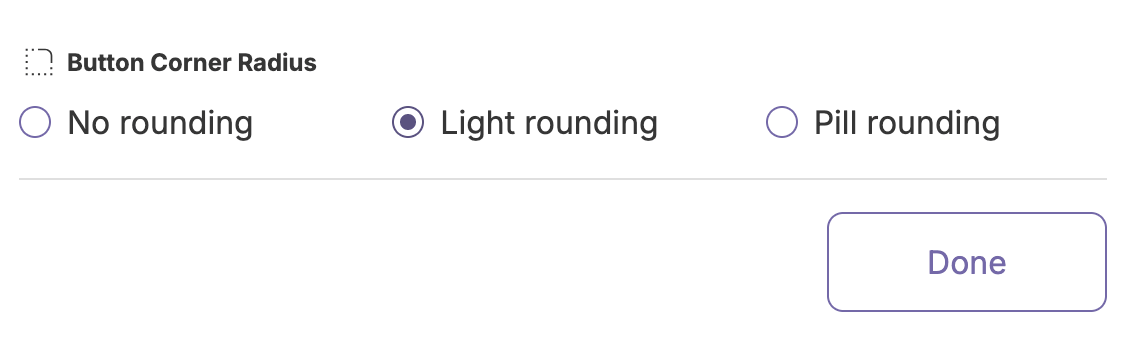
- Select the payment button’s corner radius.
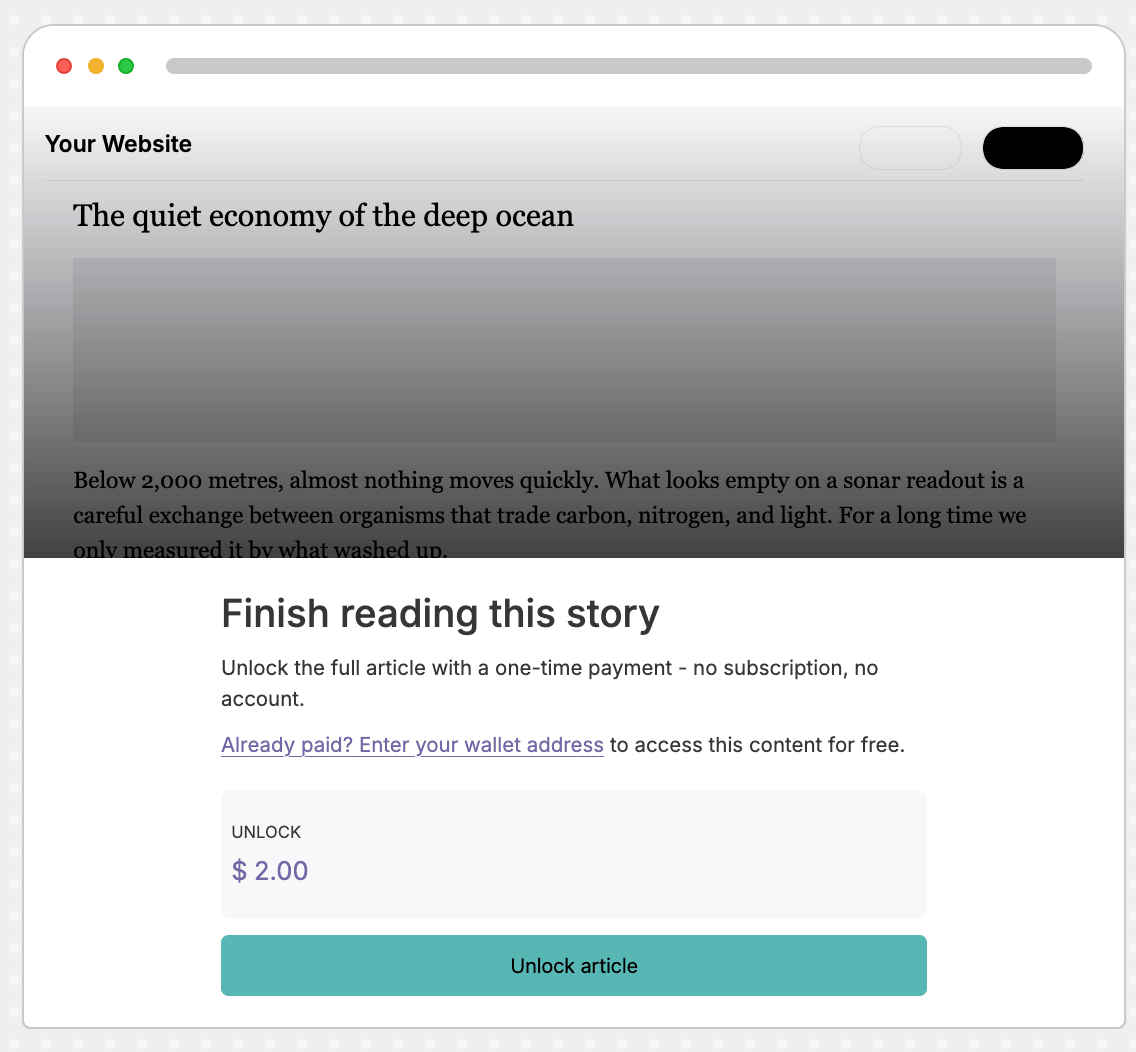
- Review your changes in the preview panel.
Generate your script
Section titled “Generate your script”- Click Save and generate script.
 A wallet confirmation prompt appears.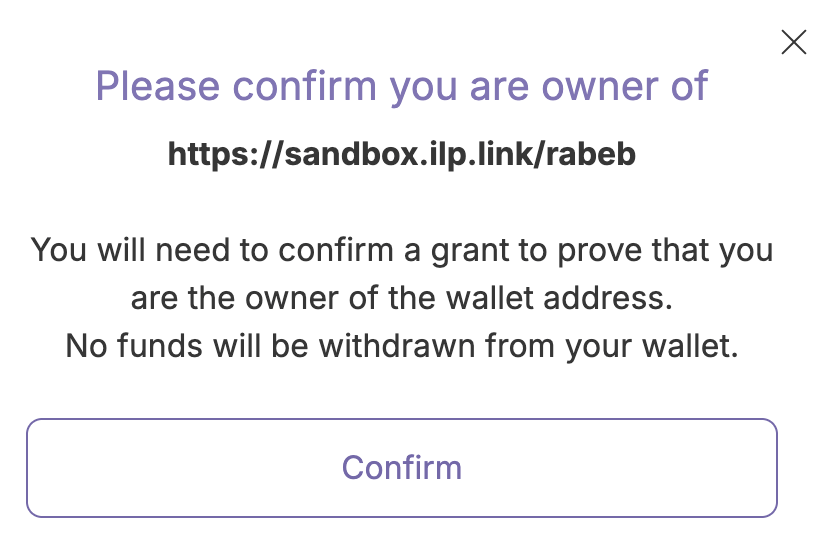
- Click Confirm. You’re directed to your wallet provider to sign in and confirm your ownership of the wallet address. After confirmation, you’ll return to the Pay per Article tool page.
- Copy the script that appears in the overlaid screen.
Example script <scriptid="wmt-paywall-init-script"type="module"src="https://tools-cdn.webmonetization.org/paywall.js"data-wallet-address="https://walletprovider.com/MyWallet"data-tag="version1"></script> - Add the script to the
<body>of each page you want to lock. - Go to your site and check that the paywall appears correctly.
Set a different price per page
Section titled “Set a different price per page”By default, each page that shows the paywall displays the amount entered during setup.
If you want a page to request a different amount, you can add the data-price attribute to that page’s script.
<script id="wmt-paywall-init-script" type="module" src="https://tools-cdn.webmonetization.org/paywall.js" data-price="1.57" data-wallet-address="https://walletprovider.com/MyWallet" data-tag="version1"></script>The price is fixed when the page loads, so a malicious actor cannot change the price.
Change your paywall configuration
Section titled “Change your paywall configuration”- Enter your wallet address.
- Click Continue. If the confirmation prompt appears, you must first confirm your ownership of the wallet address.
- Make your changes, then click Save edits only. Your script remains the same. There’s no need to update your site’s code.
- Refresh a page on your site that uses the paywall script to verify your changes are live.
Content Security Policy (CSP) requirements
Section titled “Content Security Policy (CSP) requirements”If your website uses Content Security Policy headers, you must add the following directives to allow the publisher tools embed script to work:
| Directive | Value | Description |
|---|---|---|
script-src | https://tools-cdn.webmonetization.org | Allows loading interactive tool script from the CDN |
connect-src | https://tools-api.webmonetization.org | Allows fetching configuration data from the API |
img-src | data: https://tools-cdn.webmonetization.org | Allows loading logos/thumbnails and inline SVG icons |
style-src | https://tools-cdn.webmonetization.org | Allows loading CSS files and dynamic theme styling (custom colors/fonts) |
font-src | https://tools-cdn.webmonetization.org | Allows loading custom web fonts |
Pay per Article tool